Capture Your Adventure Like A Pro

When I am out hiking or even on a short nature walk, I find myself taking lots of photos of almost everything I come across that looks cool or has some sort of beauty to it. Especially if I see wildlife. Taking these photos were fine, but most of them did not turn out like I thought they would. Some were just like, eh, that is kind of neat. While others just get deleted when I look back through them. Below are some tips I found that has helped me take some really amazing photos. So, read on and make your photos look professionally taken.
Capturing the beauty and essence of your hiking adventures through photography is a fantastic way to share your experiences with others and relive those moments yourself. Your smartphone, with its light and compact design, is an ideal tool for this purpose. With practice and the right techniques, you can significantly improve the quality of your hiking photos. This guide will provide you with essential tips on composition, technique, accessories, and subject matter to help you take stunning hiking photos with your smartphone.
General Tips
- Share Experiences Through Photos: Photography allows you to share your hiking experiences and inspire others to explore the outdoors.
- Smartphone Advantages: Lightweight, compact, and sturdy, smartphones are perfect for capturing photos on the go.
- Practice Makes Perfect: The more you practice, the better your photos will become.
Key Ingredients for Great Photos
- Composition
- Technique
- Accessories
- Subject Matter
1. Composition
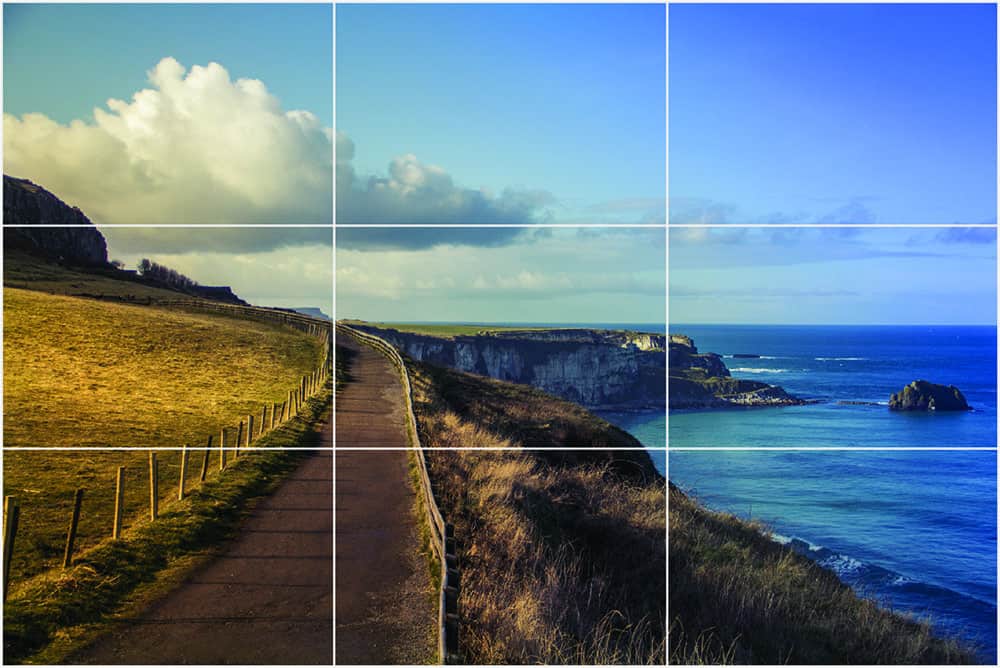
Rule of Thirds:
This fundamental rule divides the frame into a grid of nine segments. Place your subject along the intersection lines to create a balanced and engaging photo.
Golden Ratio:
A more complex version of the Rule of Thirds, this involves dividing the frame into unequal segments (~1:1.6 ratio) to create a naturally appealing composition.
Depth:
Incorporate both foreground and background elements to showcase the vastness of landscapes and add depth to your photos.
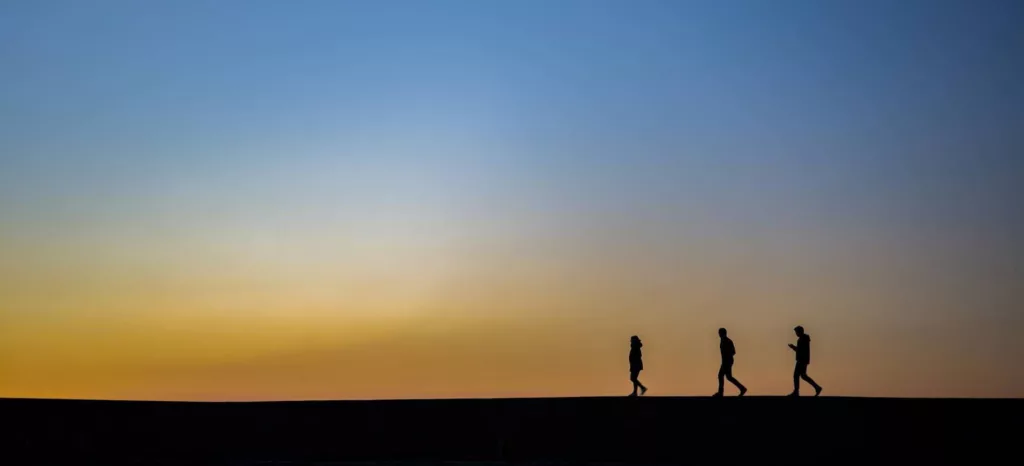
Rule of Odds:
Including an odd number of elements, such as groups of three, can make your composition more dynamic and visually interesting.
Fill the Frame:
Get up close to your subject, minimizing the background, to create a more focused and impactful image.
Lines:
Use natural lines, such as trails or rivers, to direct the viewer’s eye towards the subject.

Viewpoint:
Experiment with different angles and perspectives to capture varied moods and unique shots.
2. Technique
Set Your Phone Up for Success:
Ensure your phone has plenty of memory and that images are saved at the highest resolution possible.
Learn Editing Tools:
Familiarize yourself with your phone’s editing tools or additional apps. Avoid heavy filters and focus on cropping and basic adjustments.
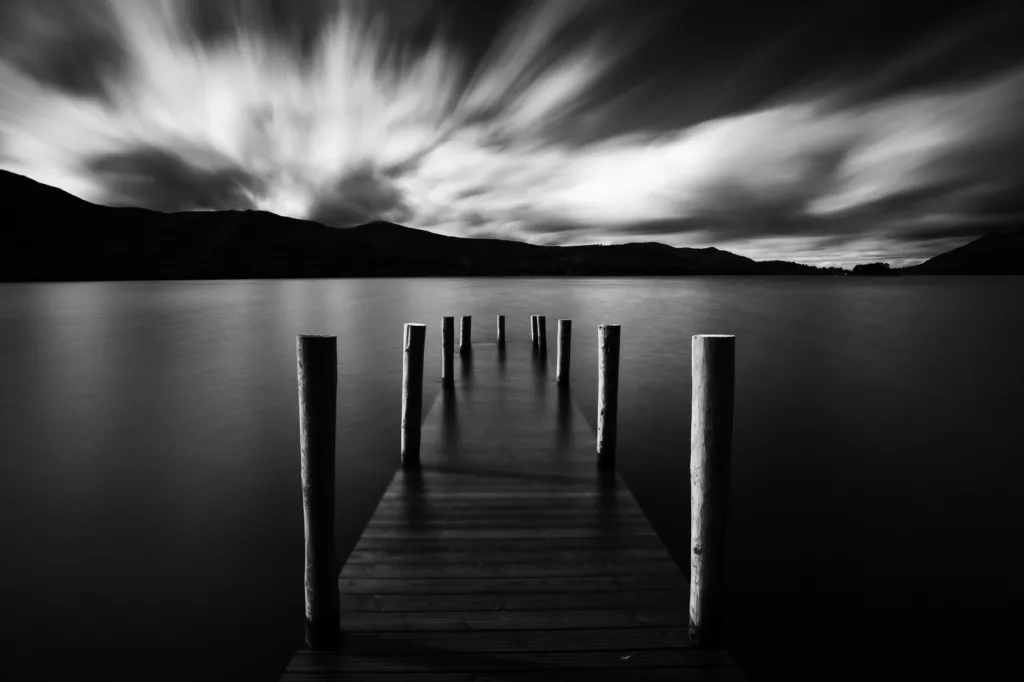
Try Black and White:
Black and white photos can emphasize composition and contrast, creating a timeless look.
Use Lens Flare:
Position the sun behind your subject to create a natural and dramatic lens flare effect.
Skip the Flash:
Smartphone flashes often produce poor-quality images. Instead, rely on natural light whenever possible.
Keep Lens Clean:
Regularly clean your lens to ensure clear and sharp images.
Take Lots of Shots:
The more photos you take, the higher the chances of capturing that perfect shot.
Golden Hour:
Shoot during the golden hours (sunrise and sunset) for the best natural light.
Take Panoramas:
Utilize the panorama mode to capture the full expanse of breathtaking scenery.

Experiment:
Don’t be afraid to try different angles, settings, and compositions to find what works best for you.
3. Accessories
Add-On Lenses:
Enhance your smartphone’s capabilities with add-on lenses like fisheye, macro, and telephoto lenses.
Extra Software:
Apps like Camera Awesome and Camera+ can provide additional features and controls for better photos.
4. Subject Matter
Personal Shots:
Include photos of yourself and your friends to capture memories and make your hiking experience more relatable to viewers.
Skip Impersonal Landscapes:
Focus on personal experiences and interactions with nature rather than just scenic shots.
Conclusion:
With these tips and techniques, you’re well on your way to capturing stunning hiking photos with your smartphone. Remember, practice is key, and the more you experiment, the better your photos will become. Happy hiking and happy photographing!
** Here’s a little transparency. Our website contains affiliate links. This means if you click and purchase, we may receive a small commission. Don’t worry, there’s no extra cost to you. It is a simple way you can help support our mission to bring you quality content. **
(As an Amazon Associate, I earn from qualifying purchases)
