A Comprehensive Guide on How to Start a Campfire Safely

Picture this: You’re nestled amidst the serene beauty of nature, surrounded by towering trees and the gentle whispers of the wilderness. As the sun dips below the horizon, you gather around a crackling campfire, its warm glow casting dancing shadows across your campsite. There’s something undeniably magical about the ambiance of a campfire, but it comes with a responsibility – the responsibility to start and maintain it safely.
In this guide, we’ll delve into the art of kindling flames responsibly. From selecting the perfect spot to extinguishing the fire, we’ll equip you with the knowledge to ensure a memorable and secure campfire experience.
Pick Your Spot and Gather Materials:
Before you strike that match, take a moment to assess your surroundings and adhere to fire regulations in the area. Whether you’re camping in a designated campground or exploring backcountry terrain, always prioritize safety.
- Check Fire Regulations: Familiarize yourself with local regulations regarding campfires. Some areas may have restrictions or seasonal bans in place.
- Select an Ideal Location: Opt for existing fire pits whenever possible. If none are available, choose a spot at least 15 feet away from tents, trees, and other flammable objects.
- Prepare the Fire Pit: Line the pit with rocks or create a ring using a metal barrier. This helps contain the fire and prevents it from spreading.
Different Types of Fuel:
Fuel is the heartbeat of your campfire, and understanding its components is crucial for success.
- Tinder: Start with easily combustible materials such as dry leaves, grass, or small twigs. These ignite quickly and serve as the initial fuel source.
- Kindling: Next, introduce small sticks or branches to feed the growing flame. Gradually increase the size of the fuel as the fire gains strength.
- Firewood: Once the fire is established, add larger logs to sustain the burn over time.
Building the Fire:
Now that you’ve gathered your materials, it’s time to construct the perfect fire structure. Each design offers unique advantages, so choose one that suits your needs.
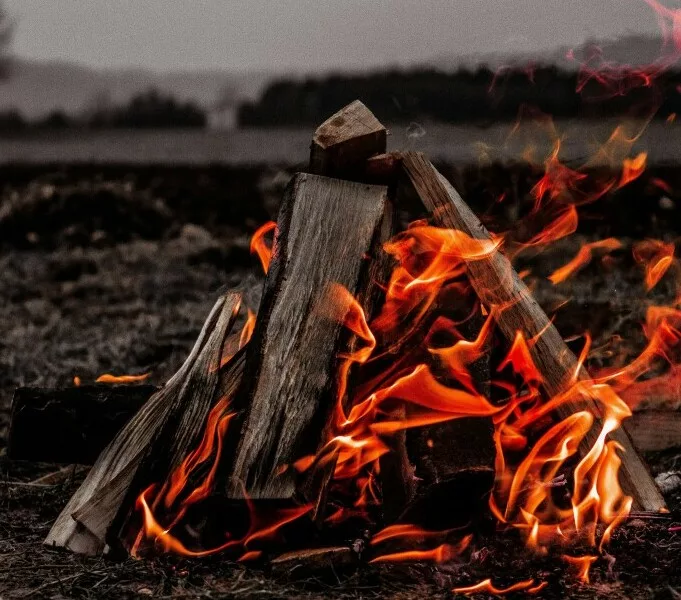
- Teepee: Arrange tinder and kindling in a cone shape, allowing for ample airflow. This structure ignites rapidly but requires frequent attention to maintain.
- Log Cabin: Stack alternating layers of kindling and larger logs in a square or rectangular formation. The log cabin design provides a stable base for cooking and produces long-lasting flames.
- Pyramid: Similar to the teepee but with a more layered approach, the pyramid structure ensures an even burn. However, it may be challenging to keep the arrangement stable.

Starting a Fire with Wet Wood:
Mother Nature doesn’t always cooperate, but with the right techniques, you can conquer damp conditions and ignite a roaring fire.
- Split Wood and Kindling: Use a hatchet or knife to split damp wood into smaller pieces, exposing dry interior layers. Similarly, break down kindling to increase surface area and promote ignition.
- Gradually Add More Wood: Start with smaller fuel and progressively introduce larger pieces as the fire strengthens.
- Use a Teepee Structure: The teepee design maximizes airflow and accelerates the drying process. Additionally, light the fire low and from the windward side to minimize moisture exposure.
- Utilize Fire starters: When all else fails, rely on commercial fire starters or DIY alternatives like cotton balls soaked in petroleum jelly.
Extinguishing the Fire:
As the flames subside and the embers dim, it’s crucial to extinguish the fire properly to prevent unintended consequences.
- Spread Embers and Ashes: Use a shovel or stick to spread the embers evenly within the fire pit.
- Pour Water: Thoroughly douse the embers with water, ensuring no hot spots remain.
- Mix with Soil: Stir the embers and ashes, mixing them with soil to smother any remaining heat.
- Clean Up: Dispose of any trash or debris, leaving the area as pristine as you found it.
Campfire Safety – Do’s and Don’ts:
Safety should always be the top priority when it comes to campfires. Follow these essential guidelines to minimize risks and enjoy a worry-free experience.
Do’s:
- Build fires in designated areas and adhere to local regulations.
- Clear the surrounding area of flammable materials, including dry leaves and brush.
- Keep the fire small and controlled, never exceeding a manageable size.
- Have a sufficient water source nearby for extinguishing the fire in case of emergencies.
- Ensure the fire is completely extinguished before leaving the area unattended.
Don’ts:
- Ignite fires in areas where restrictions or bans are in place.
- Build fires where they can easily spread beyond the designated pit.
- Use flammable liquids such as gasoline or lighter fluid to ignite the fire.
- Leave the fire unattended, even for a brief period.
- Allow children or pets near the flames without supervision.
- Dispose of trash by throwing it into the fire, as certain materials can release harmful toxins when burned.
Conclusion:
Mastering the art of starting a campfire isn’t just about creating a source of warmth and light—it’s about embracing a time-honored tradition while prioritizing safety and environmental stewardship. By following these guidelines and exercising caution, you can enjoy the mesmerizing allure of a crackling campfire while minimizing risks and preserving the natural beauty of our wilderness destinations. So, gather your kindling, strike that match, and let the flames of adventure ignite your spirit—safely and responsibly.
(As an Amazon Associate, I earn from qualifying purchases)
** Here’s a little transparency. Our website contains affiliate links. This means if you click and purchase, we may receive a small commission. Don’t worry, there’s no extra cost to you. It is a simple way you can help support our mission to bring you quality content **